· Robert Mordzon · Features · 4 min read
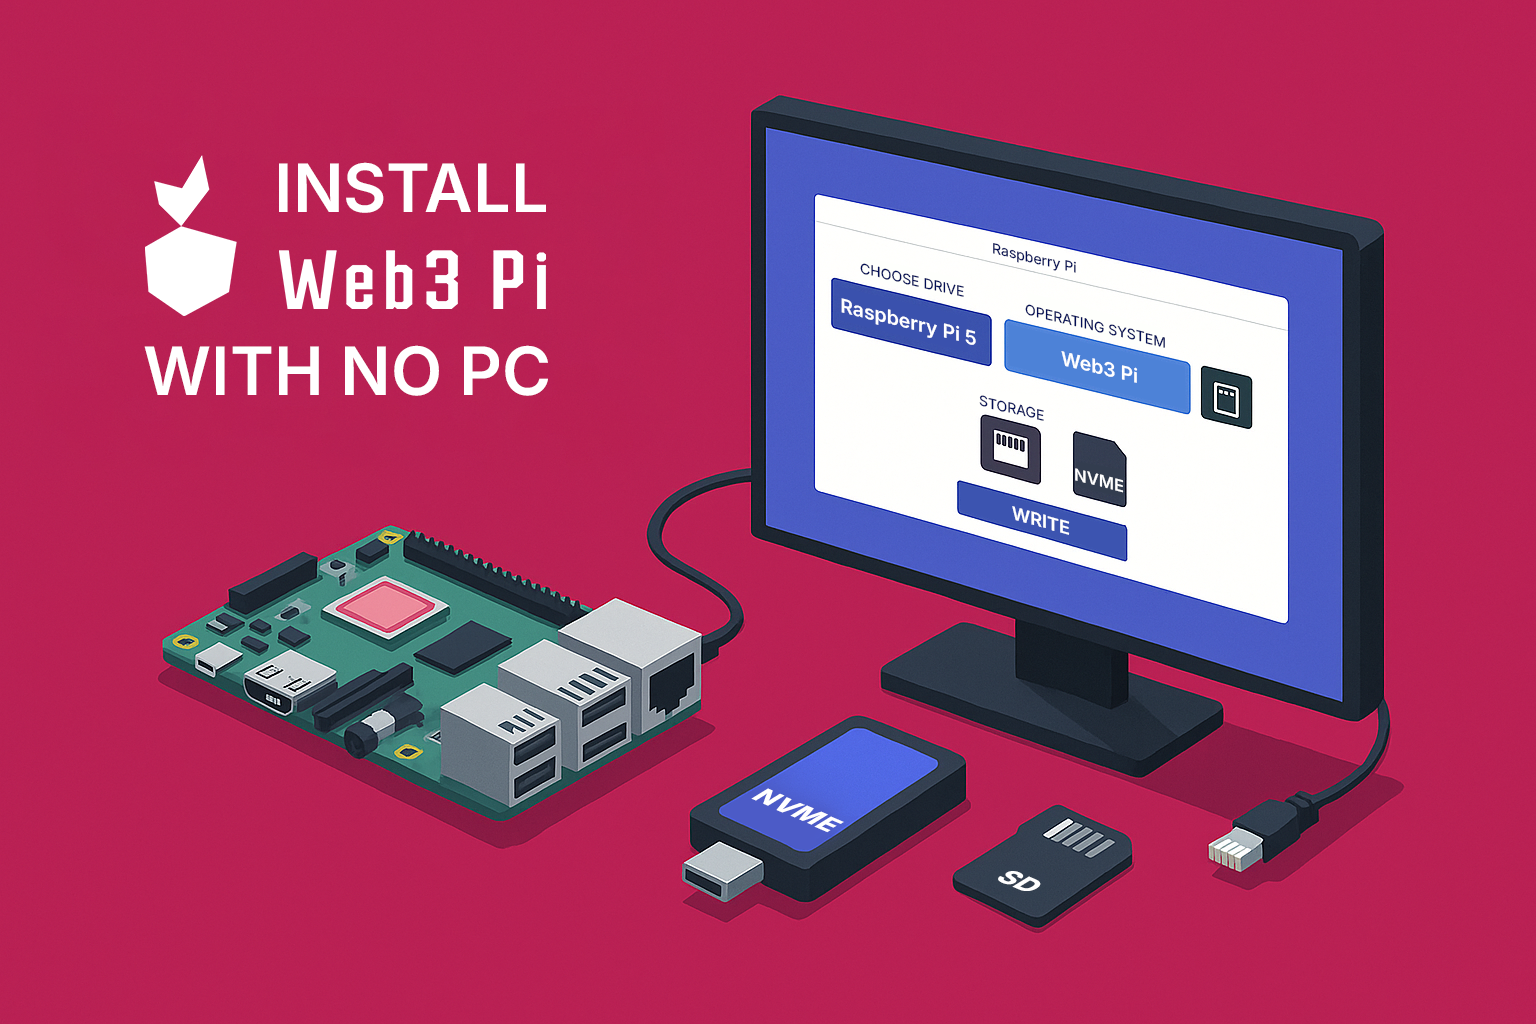
Install Web3 Pi on Raspberry Pi 5 — No PC Needed
Yes, you can install the Web3 Pi Image on a Raspberry Pi 5 using only the Pi itself. No laptop, no SD writer on another machine—just a keyboard, a monitor, and an Ethernet cable with DHCP.
For years, setting up a Raspberry Pi meant using another computer to flash an OS image onto a microSD card. With the Raspberry Pi 5, that’s no longer necessary. Thanks to a powerful feature called the Network Installer, you can install Web3 Pi directly on your Pi 5 using only the device itself. No extra laptop, no SD card reader—just a keyboard, a monitor, and an internet connection.
This guide will walk you through this streamlined process, which is made even simpler by the fact that Web3 Pi is an officially supported operating system in the Raspberry Pi Imager.
What You Need
- Raspberry Pi 5
- USB Keyboard and HDMI Monitor
- Wired Ethernet Connection: Your network must have DHCP to assign an IP address automatically. Wi-Fi is not supported for this process.1
- Storage: A microSD card or an NVMe SSD. Web3 Pi fully supports booting from NVMe.
How It Works
When you trigger the Network Install, the Raspberry Pi’s bootloader downloads a special, lightweight version of the Raspberry Pi Imager application from the internet directly into the Pi’s RAM.1 This creates a temporary setup environment, allowing you to install a full operating system without needing a pre-prepared disk.
Step-by-Step Installation Guide
Connect Your Peripherals
Connect the keyboard, monitor, and Ethernet cable. Insert your target storage medium—either the microSD card or your NVMe drive. Finally, plug in the USB-C power supply.Launch the Network Installer As you power on the Pi, press and hold the left Shift key on your keyboard. After a few moments, the Pi will download and launch the on-device Imager, and you will see the main screen.
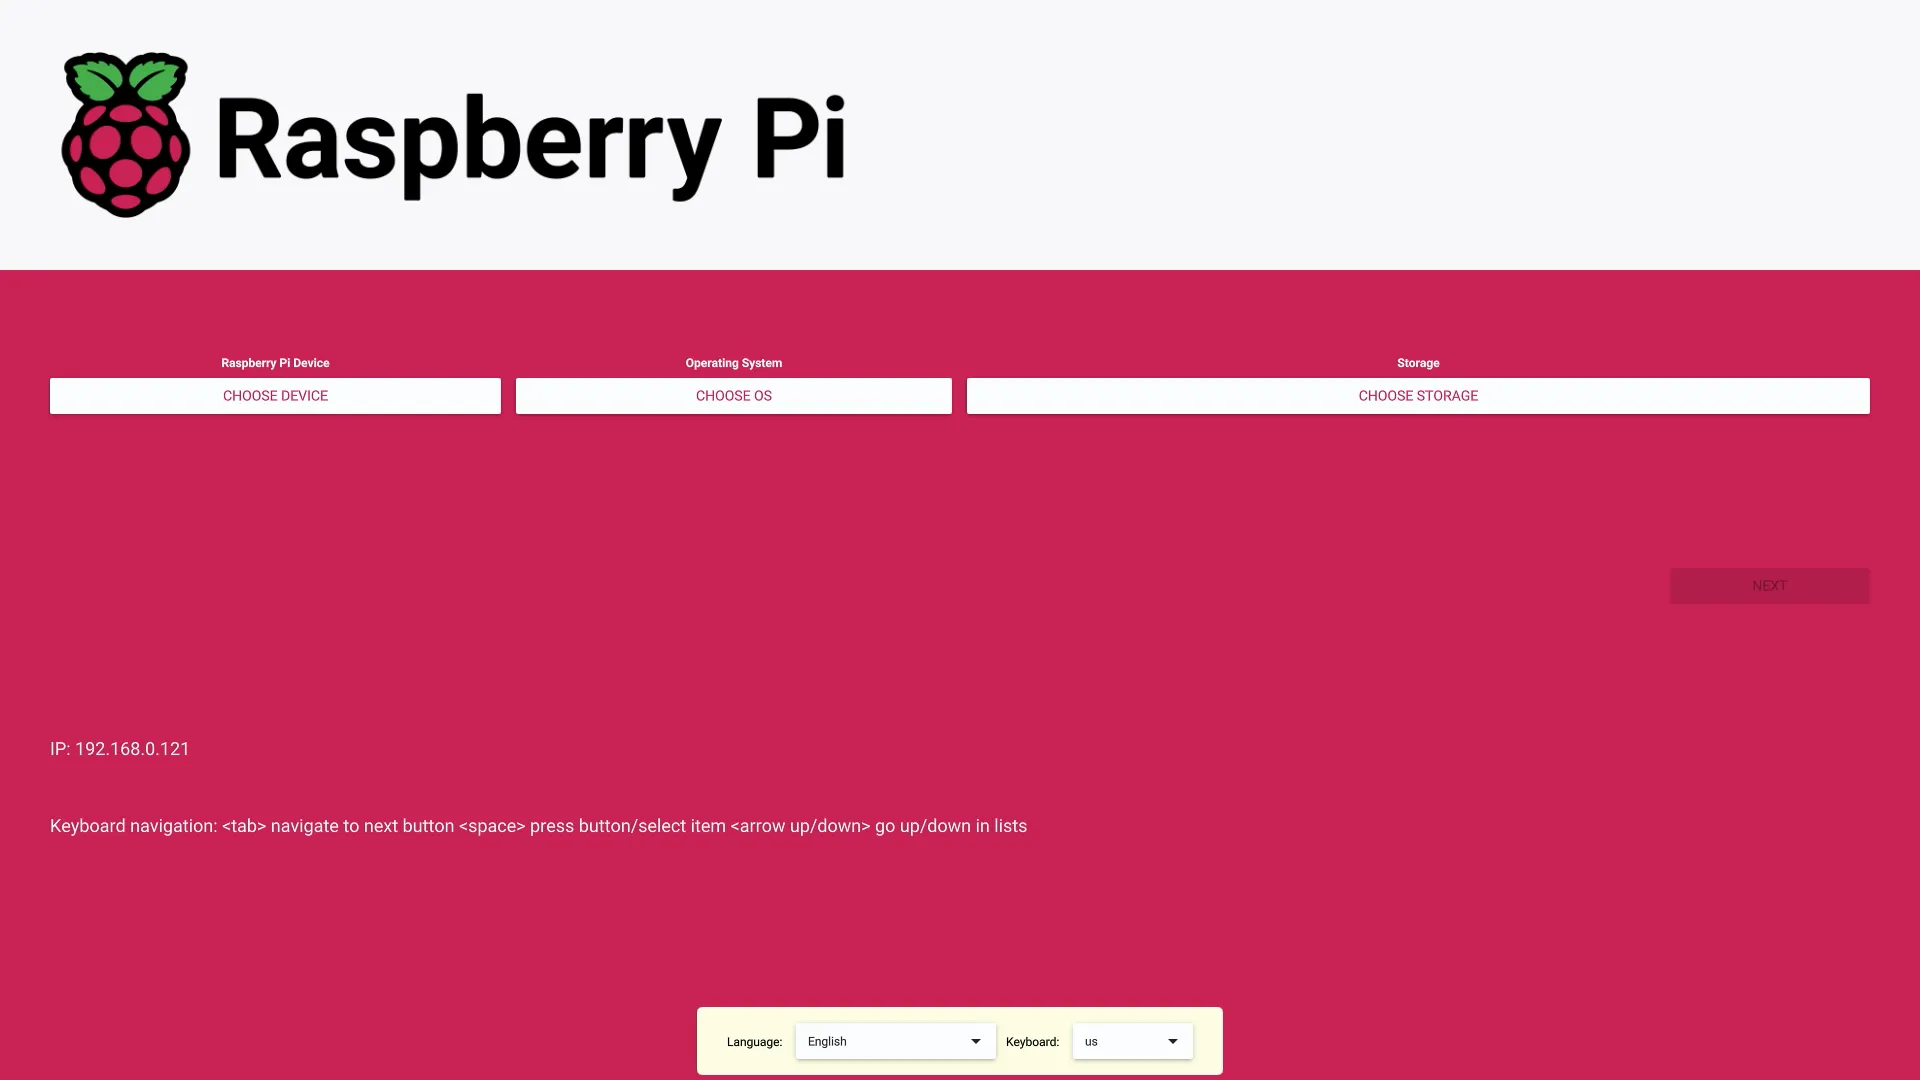
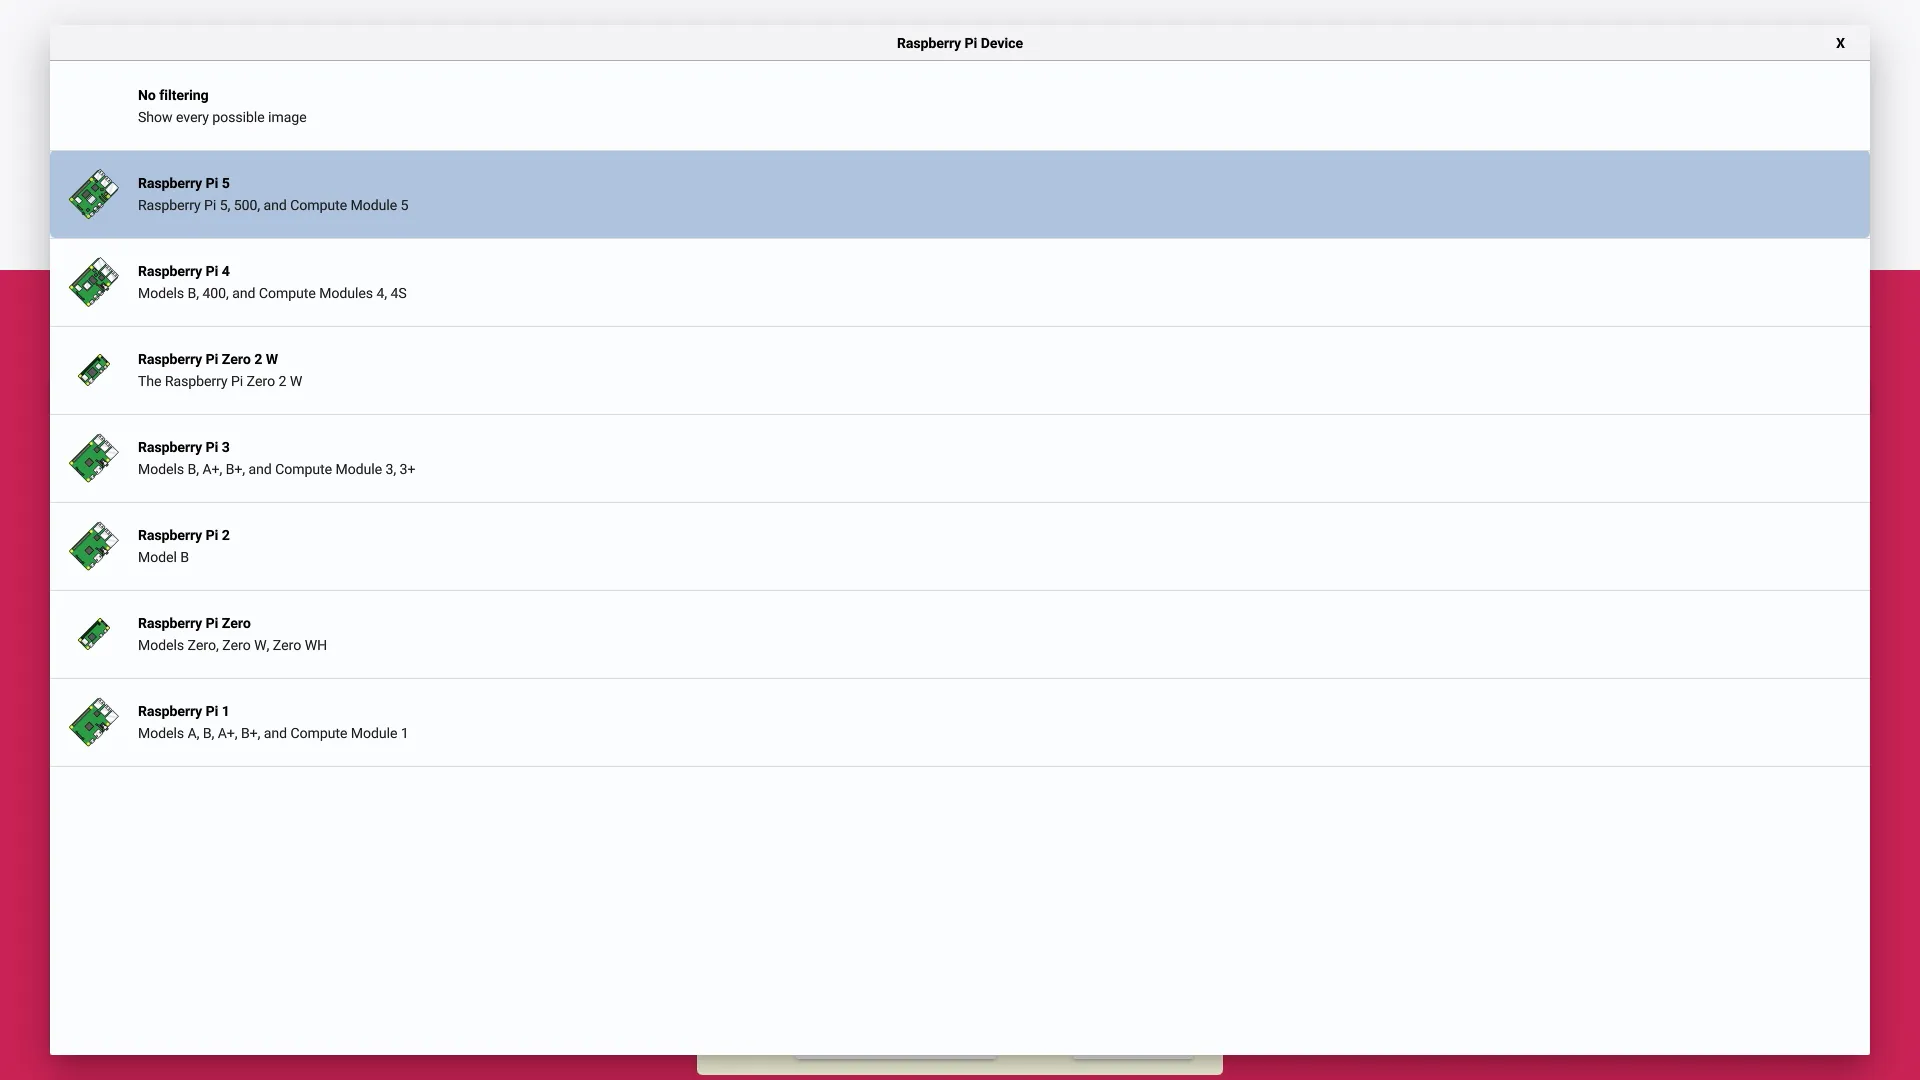
- Select Your Raspberry Pi Model
In the Imager window, click “CHOOSE DEVICE” and select “Raspberry Pi 5” from the list. This ensures the Imager only shows compatible operating systems.
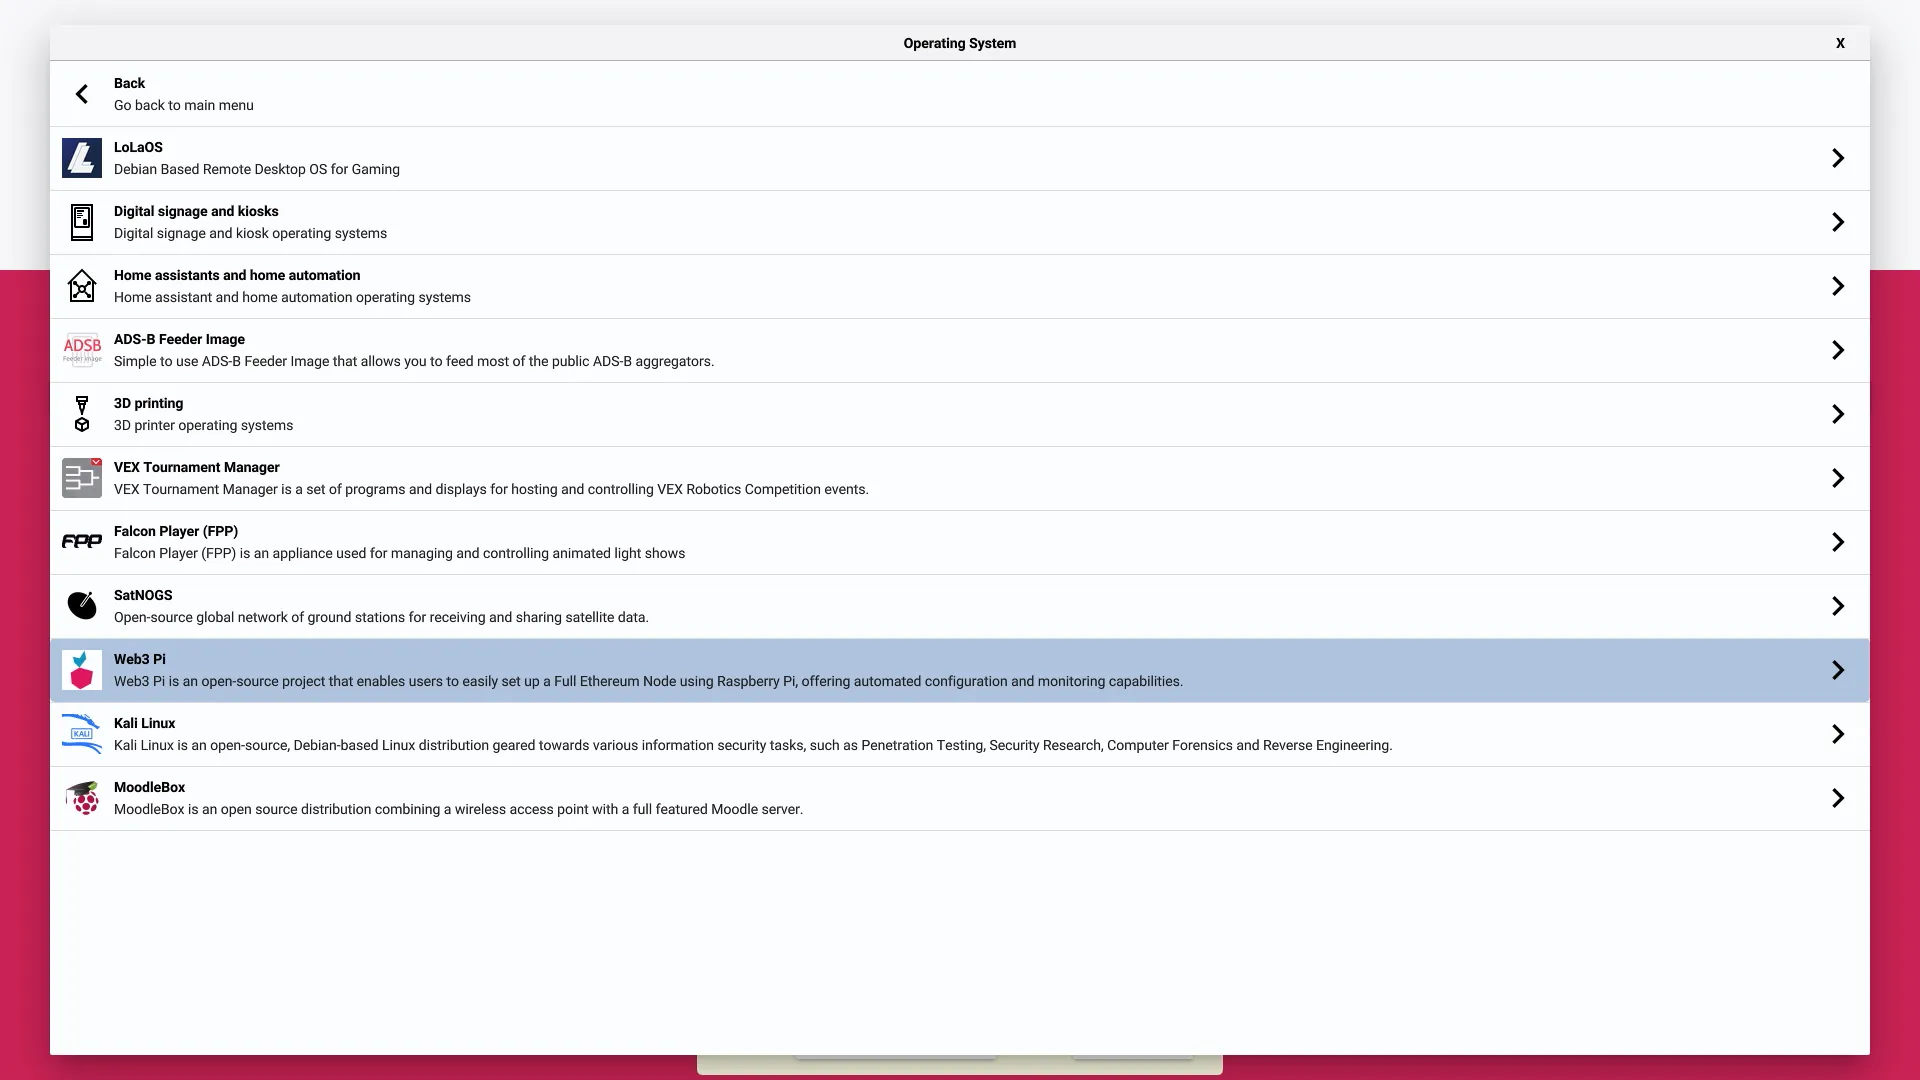
- Choose the Web3 Pi Operating System
Click “CHOOSE OS” and navigate to Other specific purpose OS. You will find Web3 Pi in this list. Select it to continue.
Select Your Storage
Click “CHOOSE STORAGE” and select the drive where you want to install Web3 Pi. You can choose your microSD card or, for much better performance, your NVMe SSD. If you install to an NVMe drive, a microSD card is not needed at all.Write the Image and Reboot
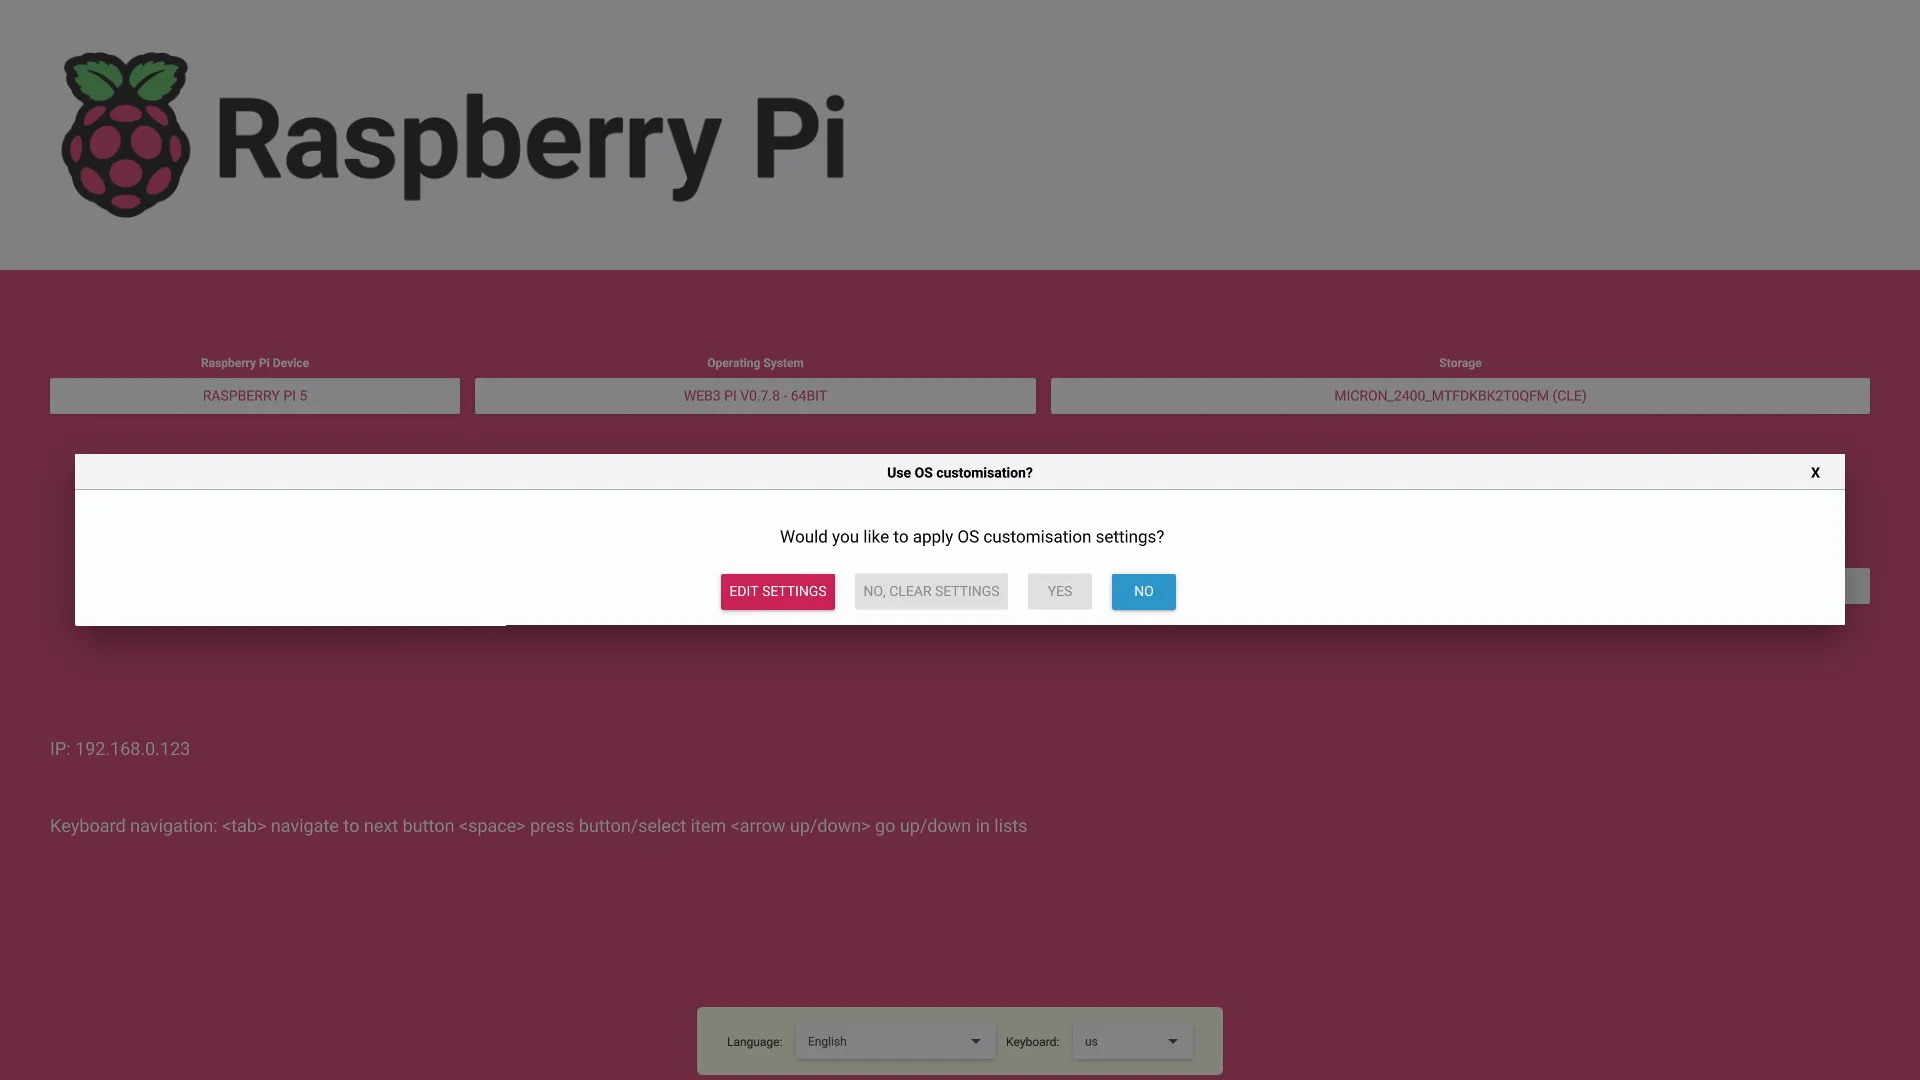
Click “NEXT.” The imager will ask if you want to apply OS customizations; for this simple install, select “NO.”
Confirm the final warning that all data on the selected drive will be erased. The Raspberry Pi 5 will now download the Web3 Pi image from our repository and write it to your storage.
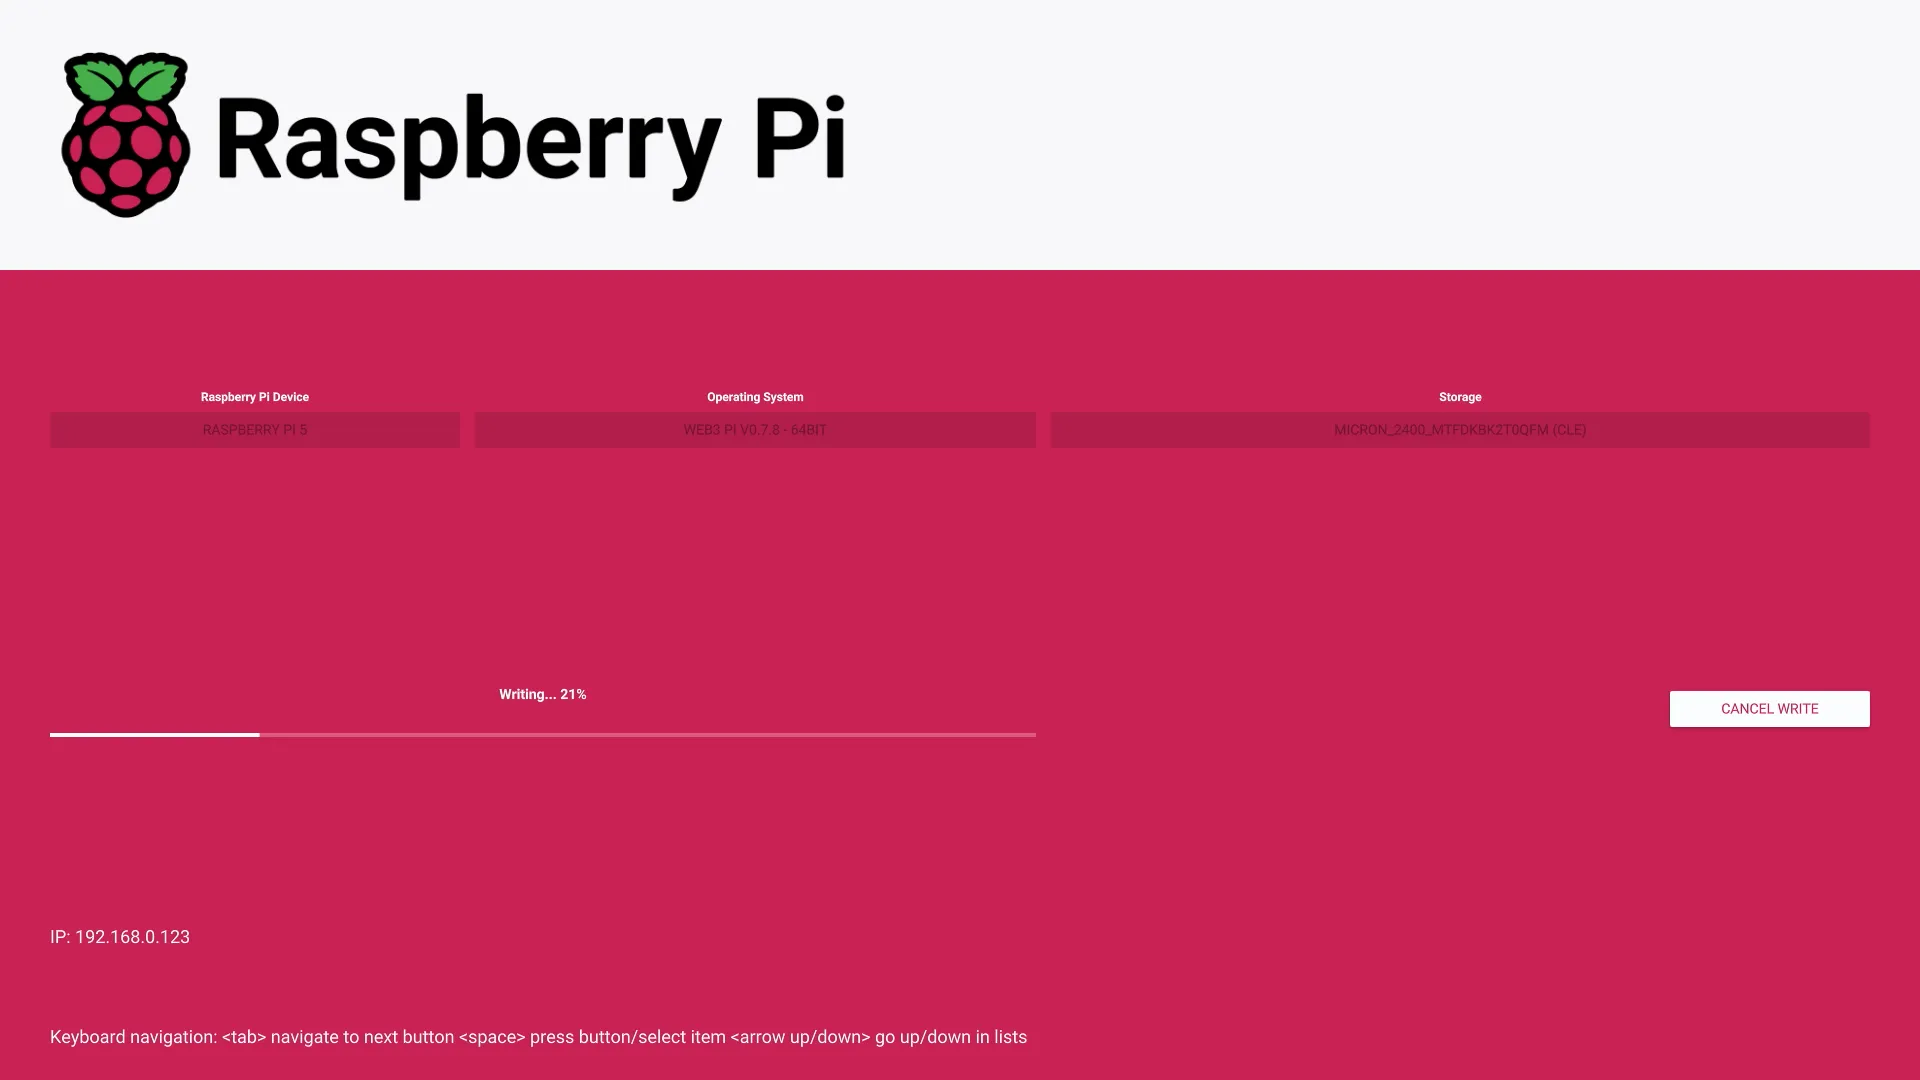
Once the process is complete, the Raspberry Pi will reboot automatically and start up with your new Web3 Pi operating system.
Important Considerations and Tips
- Firmware Requirement (Crucial): The Network Installer feature requires a recent version of the Raspberry Pi 5’s bootloader (EEPROM) firmware. If holding Shift does nothing on boot, your firmware is likely outdated. To update it, you will first need to install Raspberry Pi OS, then open a terminal and run sudo raspi-config. Navigate to Advanced Options > Bootloader Version and select Latest.3 After a reboot, the Network Installer will be available.
- Defaults Only: This installation method uses the default settings for Web3 Pi. It does not support the advanced pre-configuration options available in our dedicated Web3 Pi Imager. However, for most users, the default settings are all you need to get started.
- Wired Connection is a Must: The bootloader’s network client only contains drivers for the wired Ethernet port to save space, so a Wi-Fi connection cannot be used for the installation.1
- Use a Wired Keyboard: Some wireless keyboards may not be initialized early enough in the boot process to register the Shift key press. A standard wired USB keyboard is recommended to ensure it works reliably.
That’s it. You’ve just installed a fully operational Web3 Pi node using the simplest, most direct method available on the Raspberry Pi 5.
References
- Testing Raspberry Pi’s new Network Install feature | Jeff Geerling
https://www.jeffgeerling.com/blog/2022/testing-raspberry-pis-new-network-install-feature - A Step-by-Step Guide to Install Raspberry Pi OS on Raspberry Pi 5 | by Arunkl - Medium
https://medium.com/thesecmaster/a-step-by-step-guide-to-install-raspberry-pi-os-on-raspberry-pi-5-599a58c9d5f7 - How to Update the Firmware on your Raspberry Pi 5 - The Pi Hut
https://thepihut.com/blogs/raspberry-pi-tutorials/how-to-update-the-firmware-on-your-raspberry-pi-5 - Network boot pi5 - Raspberry Pi Forums
https://forums.raspberrypi.com/viewtopic.php?t=365245